Object detection with bounding boxes using MMDetection
https://mmdetection.readthedocs.io/en/latest/
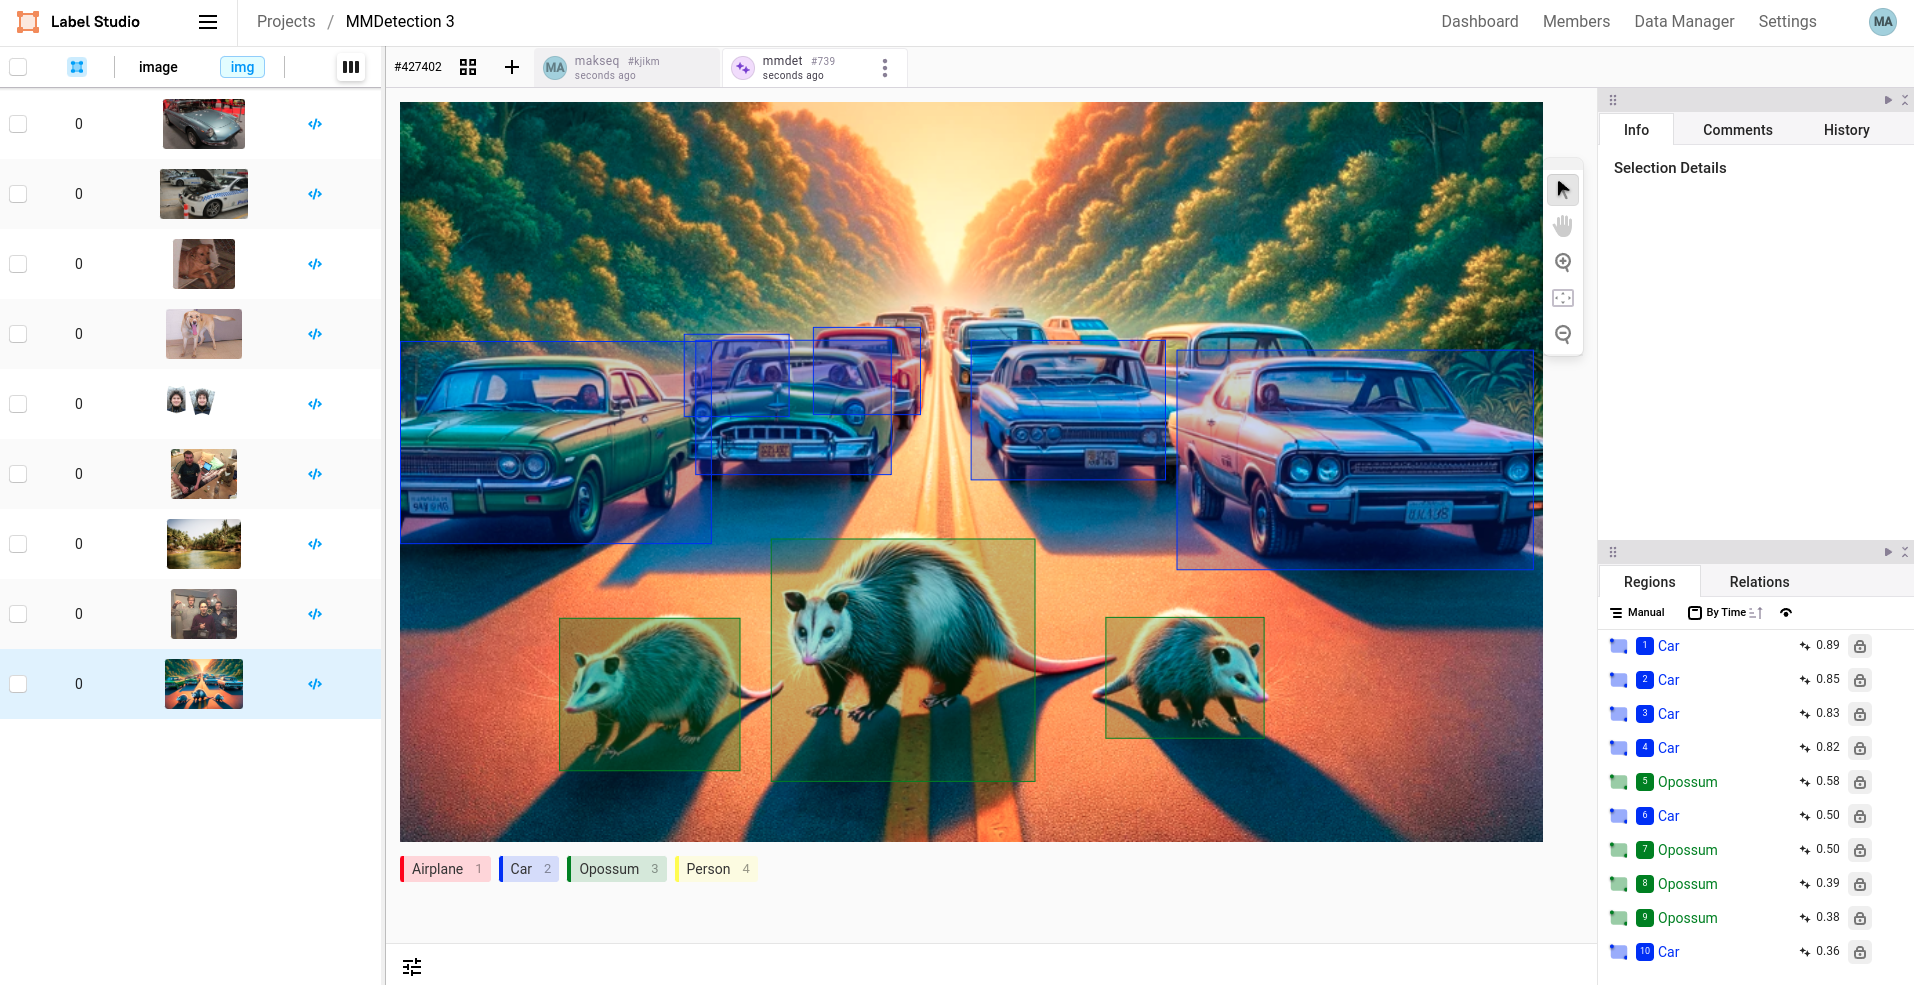
This example demonstrates how to use the MMDetection model with Label Studio to annotate images with bounding boxes. The model is based on the YOLOv3 architecture with a MobileNetV2 backbone and trained on the COCO dataset.
Before you begin
Before you begin, you must install the Label Studio ML backend.
This tutorial uses the mmdetection-3 example.
Quick usage
For quick usage run docker-compose in your working directory:
docker-compose up -dReference to tutorial
See the tutorial in the documentation for building your own image and advanced usage:
https://github.com/HumanSignal/label-studio/blob/develop/docs/source/tutorials/object-detector.md
Labeling config
There are two possible variants of labeling configurations that can be used:
In this example, you can provide labels “as is” and they will be automatically mapped to MMDetection model’s labels.
This will work for simple use cases. For example, Label Studio
Airplanemaps to MMDetectionairplane.<View> <Image name="image" value="$image"/> <RectangleLabels name="label" toName="image"> <Label value="Airplane" background="green"/> <Label value="Car" background="blue"/> </RectangleLabels> </View>More complex labeling config with
predicted_values:<View> <Image name="image" value="$image"/> <RectangleLabels name="label" toName="image"> <Label value="Vehicle" predicted_values="airplane,car" background="green"/> </RectangleLabels> </View>
In this example, you can combine multiple labels into one Label Studio annotation the. For example, Label Studio Vehicle maps to MMDetection “airplane” and “car”.
Run without Docker
It’s highly recommended to use Docker, it is the best way to avoid many common issues.
- Clone the Label Studio ML Backend repository in your directory of choice:
git clone https://github.com/HumanSignal/label-studio-ml-backend
cd label-studio-ml-backend/label_studio_ml/examples/mmdetection-3
Create a virtual environment using
venvand install all dependencies using pip:python -m venv ml-backend source ml-backend/bin/activateInstall all dependencies:
# Set environment variables
export PYTORCH="1.13.0"
export CUDA="11.6"
export CUDNN="8"

# To fix GPG key error when running apt-get update
apt-key adv --fetch-keys https://developer.download.nvidia.com/compute/cuda/repos/ubuntu1804/x86_64/3bf863cc.pub
apt-key adv --fetch-keys https://developer.download.nvidia.com/compute/machine-learning/repos/ubuntu1804/x86_64/7fa2af80.pub

# Update the base OS
apt-get update
apt install -y git

# Install system dependencies for opencv-python
apt-get install -y libgl1 libglib2.0-0

# Upgrade pip
pip install -U pip

# Install base requirements
pip install -r requirements-base.txt

# Install custom requirements
pip install -r requirements.txt

# Mim install commands
pip install mim
mim install mmengine==0.10.3
mim install mmdet==3.3.0
mim download mmdet --config yolov3_mobilenetv2_8xb24-320-300e_coco --dest .- Set the environment variables
# set the log level for the model server
export LOG_LEVEL=DEBUG
# specify the model directory (likely you don't need to change this)
export MODEL_DIR=
# mmdetection model parameters
export CHECKPOINT_FILE=yolov3_mobilenetv2_320_300e_coco_20210719_215349-d18dff72.pth
export CONFIG_FILE=yolov3_mobilenetv2_8xb24-320-300e_coco.py
export DEVICE=cpu
export SCORE_THRESHOLD=0.5

# Specify the Label Studio URL and API key to access
# uploaded, local storage and cloud storage files.
# Do not use 'localhost' as it does not work within Docker containers.
# Use prefix 'http://' or 'https://' for the URL always.
# Determine the actual IP using 'ifconfig' (Linux/Mac) or 'ipconfig' (Windows).
export LABEL_STUDIO_URL=<your-ls-hostname>
export LABEL_STUDIO_API_KEY=<your-ls-api-key>- Run the following command to start your ML backend
label-studio-ml start --root-dir .. mmdetection-3or using gunicorn for a Python web app
gunicorn --preload --bind :9090 --workers 1 --threads 1 --timeout 0 _wsgi:app- Use this guide to find out your access token: https://labelstud.io/guide/api.html
- You can use and increased value of
SCORE_THRESHOLDparameter when you see a lot of unwanted detections or lower its value if you don’t see any detections.